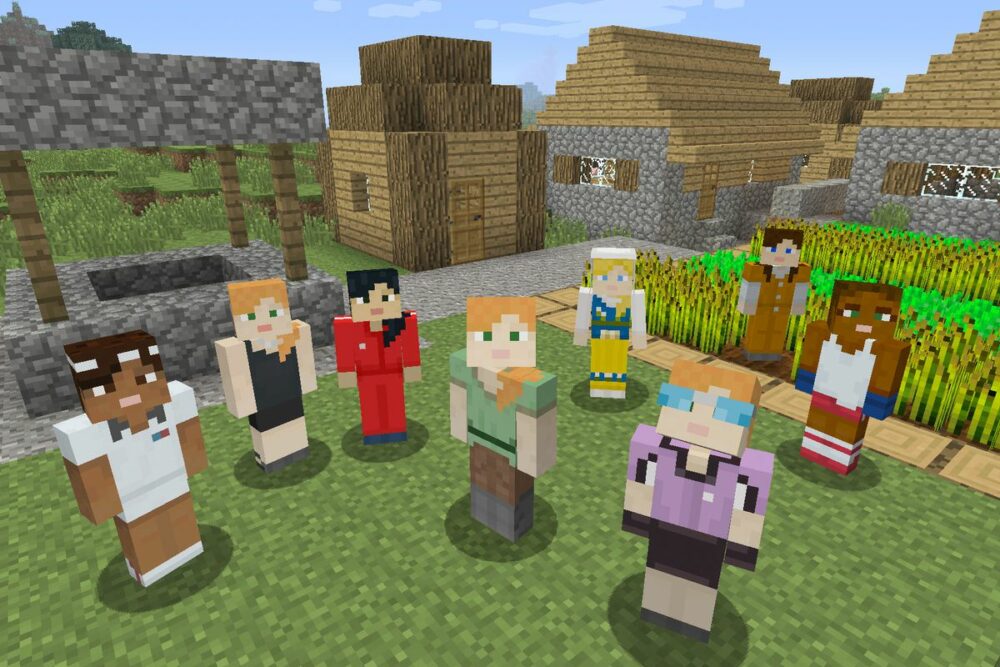
Minecraft allows players to completely customize their world and surroundings. The same idea applies to the player character. Unfortunately, Minecraft’s default skins are somewhat boring and can become repetitive after a while. As a result, the online repository of user-created skins, as well as the official marketplace, can be an invaluable source of additional customization options.
In this article, we’ll show you how to change your character’s Minecraft skin on PC, mobile, and console.
How To Change Your Minecraft Skin
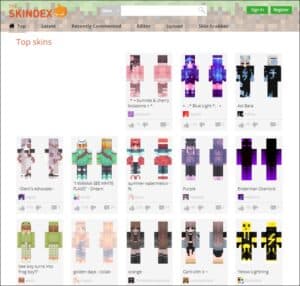
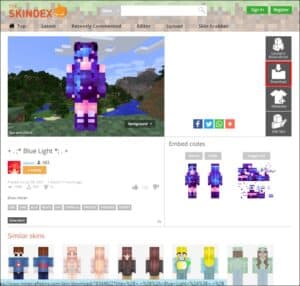
Well, The first step in changing your skin is deciding whether you want to use the default in-game skin or create your own. If you prefer user-created options, you should go to one of the many Minecraft skin websites.
Here, We can recommend a few of the most popular ones, such as MinecraftSkins or NameMC, but the final decision is yours.
You must download the skin to your device from whatever website you choose for the skins:
- First, Close Minecraft.
- Next, Open the skin website in your favorite browser.
- Here, Select the skin you want to use.
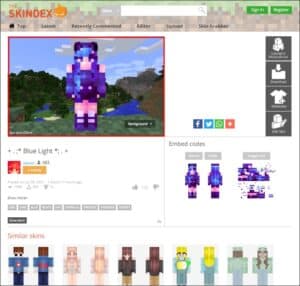
- Then, Press on the “Download” or “Purchase” button. When using a website, keep in mind any additional features or terms.
- Now, Save the image when prompted.
Because console players cannot download and store skins, they do not have access to custom skins.
Solution – Change Minecraft Skin On Console Editions
In the Bedrock Edition, the Minecraft console versions have largely merged with the Windows 10 version. The skin selection process, on the other hand, is vastly different, as there is no option to download or use custom skins. For customization, players are limited to a pre-selected set of official skins and skin packs. At the very least, you can change the skin in the game menus:
- First, Open Minecraft on your console.
- Next, Select “Help & Options” in the main menu.
- Then, Choose “Change Skin.” Here, You’ll be taken to a different skill selection menu, with a list of available skins and packs that have been or could be purchased. Also, Skins that aren’t free have a padlock next to them.
- Here, Choose the skin you want, and press “A” on the Xbox or “X” on the PlayStation.
- Lastly, If your skin needs to be purchased first, you’ll need to leave payment information in the subsequent menu in the console store and follow further instructions. Here, You can press “B” (Xbox) or the circle (PS) to exit the purchasing menu.
- Now, Once purchased, the skin will be automatically applied to your character.
Solution – Change Minecraft Skin On Desktop
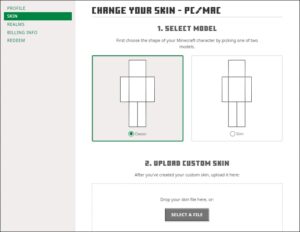
Well, You can use the associated Official Minecraft website and your account to change the Minecraft skin on the PC version:
- First, Log in to Minecraft.net with your account credentials in the “Log in” screen.
- Next, Go to the skin selection section (link) or the “Skin” tab.
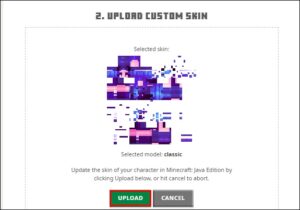
- Here, You can use “Browse” or “Select a File” to select from a list of skins you’ve unlocked or purchased on your account. Also, This option will work for any official skin or custom skins.
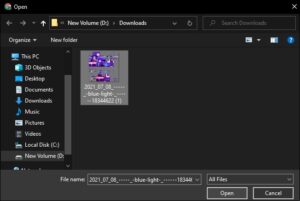
- Next, Choose the image file you downloaded from the file explorer.
- Then, Click the “Upload” button.
- You’re done! The next time you open the Minecraft game, your character will be wearing the skin you’ve chosen.
Solution – Change Minecraft Skin On Minecraft Pocket Edition (PE)
Despite lacking some of the essential features found in the Bedrock and Java versions, Minecraft mobile players can have some fun with skins as well.
When using a mobile device, the process for downloading a custom skin is largely the same. Alternatively, you can save the image to your computer and send it to your mobile device.
After you’ve downloaded the skin you want to use, proceed as follows:
- First, Open Minecraft PE on your mobile device.
- Next, Tap on the coathanger icon on the right in the main menu.
- Here, You’ll see multiple tabs on the left. Well, If you want to use a default or official skin, select it from the skin packs.
- Also, If you want to use a custom skin, select the blank skin icon (typically on the far right in the “Default” tab).
- Next, Select “Choose New Skin” in the right portion.
- Here, The game will open your image gallery. Next, navigate to the item you’ve downloaded, usually “Recent items,” and select the appropriate skin file.
- Next, Select the skin model you want to use. There are 2 options, a slimmer on the left and a wider one on the right. Here, We recommend choosing the right option since most user-created skins work on that skin model.
- Then, Tap on “Confirm” to finish customer customization.
- Lastly, Go back into the menu and start up the game as normal.
Also, Check :
The Bottom Line: Change Your Minecraft Skin
Well, You now know how to change your Minecraft character’s default skin. Custom skins have nearly infinite possibilities (3.06013*1023,581, to be exact). You can use the official skins included in the packs, a custom skin, or make your own with some basic color tinkering.
Which Minecraft skin is your favorite? Here, In the comment section below, share your thoughts.