We have set up the entire process from picking a movie to watch on a Windows Computer to TV or external screens using HDMI. Even our popcorn is prepared for consumption. In the meantime, you have discovered an issue with the sound. Eventually, you realize that it is inaudible due to HDMI. All of our exhilaration dissipates within minutes. Yet it would be best if you were not too concerned. If you’re experiencing this problem, you are not alone. Bugs, old drives, broken ports, and other factors are some of the causes of these issues. Do you want to know what to do next and how to fix it? Here is how to fix HDMI audio not working on Windows 11.
How To Fix Easily HDMI Audio Not Working On Windows 11?
Windows 11 is more user-friendly and convenient. In addition, with the redesigned Windows system, we can easily complete any troubleshooting task for any problem. To perform from your end, use these tried-and-true methods to fix HDMI audio not working on Windows 11.
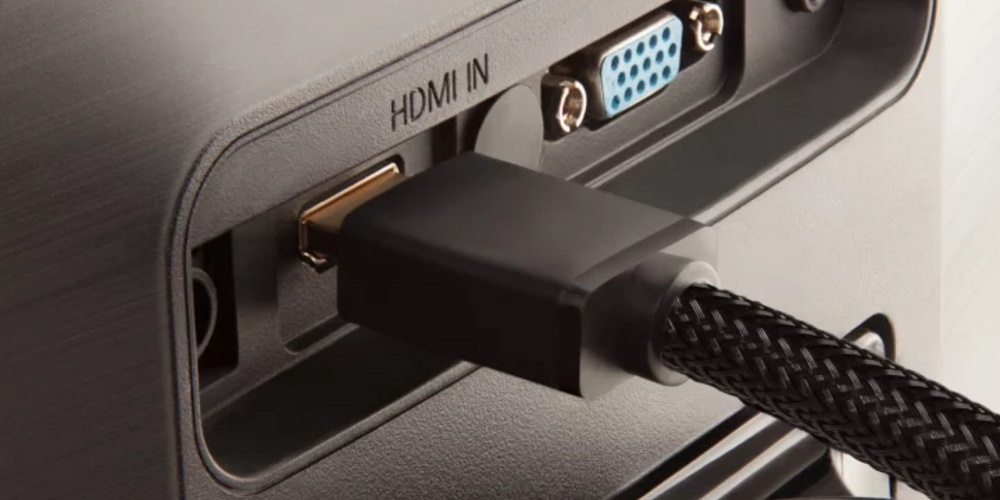
Check Cable And Port
Check the HDMI port and the cable first. How can you check to see whether it’s workable? You can disconnect the cable from the system and the external device you are hooked into to check its input and output capabilities. Then reconnect to check whether it is still working. Remember to inspect the cable. You should use a different one if your device has more than one port dock. You do not need to perform any of the next actions if you hear the sound. To make HDMI audible, follow this process.
Perform Windows Sound Troubleshoot
Second, we may use Windows 11’s built-in troubleshooter to discover and address the problem. You must follow this.
1 – Select Troubleshoot from the Windows Start menu.
2 – Choose Other troubleshooting.

3 – To perform the troubleshooting, click Run on Playing Audio.

4 – Troubleshoot any from the detected list to solve your problem.

Update Sound Drivers
The problem can be solved by updating the sound driver. Attempts to reconnect the HDMI after the update. Let’s look at how to update the sound driver in Windows 11.
1 – Go to Device Manager by clicking the Windows button. For shortcuts, hit Windows + X. From the list of all functions, click Device Manager.
2 – Select the Sound, video, and game controller.
3 – All the audio drivers will be provided. Click Update driver after selecting your audio driver in the list.

4 – To obtain the update, click Search automatically for drivers.

Set HDMI As The Default Playback
Windows will often select the available playback as the default playback if it’s not working for you. Then why not set the specific HDMI as the default playback?
1 – Hit Windows Start + R. Next to you, Run will open. Hit the Enter key after typing mmsys.cpl sounds.

2 – The sound configuration tool will open. Click Set default after selecting the sound system. Ensure that your HDMI cable is linked to the obtain default option.

Restart Audio Service
The best approach to fix the issue is to restart the audio service. Follow these instructions to restart the audio service.
1 – Hit Windows Start + R. Next to you, Run will open.
2 – Hit the Enter key after typing services.msc.

3 – The Windows Service app will open; double-click Windows audio.

4 – Choose the automatic option, then click the start and Ok buttons.

5 – Click the restart button to perform this audio service and return to the service page.

Reinstall Sound Drivers
1 – Launch Device Manager and click Sound, video, and audio controllers.
2 – Right-click the sound driver after selecting it.

3 – Choose the uninstall button.

4 – Exit the app and restart the driver by pressing alt + F4.
Windows Update
It is always suggested to use an updated version of Windows. The previous version can include a lot of bugs and flaws. When I need to update for some time, I have several problems. The system cannot perform normally, takes a lot of time to boot, and exhibits significant latency. Therefore, it makes sense to update the windows. To improve the speed of the system, Windows updates eliminate bugs. That may help to fix the HDMI audio issue indirectly.
1 – Select Windows Update from the start menu.
2 – Choose check for updates.

3 – If an update is available, download and install it.
Reset Windows
Reset Windows restores all defaults and helps troubleshoot any internal issues. All drivers are, therefore, immediately reinstalled. Let’s examine the process of resetting Windows.
1 – Select Windows > System > Recovery.
2 – Choose Reset PC.

3 – Select the type of reset you want to do.
4 – The suggested action is to select Keep my files reset. If you back up data, you may completely reset the system. Otherwise, you will lose all of your saved data.

Conclusion:
So these are some methods to fix HDMI audio not working in Windows 11. To perform any of the methods is quite easy. If you need assistance, ask questions in the comment section.