The ‘Shell Infrastructure Host’ process regularly eats CPU resources when it shouldn’t. This is a common complaint among Windows 11 users. For instance, when doing normal operations like viewing photographs on an internal or external SSD, impacted users encounter PC performance issues owing to a shortage of available resources. This blog aims to fix the excessive CPU usage of ‘Shell Infrastructure Host’ on Windows 11 computers.
How To Easily Fix Shell Infrastructure Host High CPU Usage On Windows 11?
Activate System Maintenance Troubleshooter
After running the System Maintenance Troubleshooter and executing the below-mentioned fix, several customers who experienced the same problem reported that it was completely fixed in their case. Therefore, what is required is as follows.
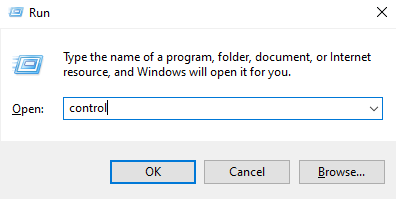
1 – Press the Windows key plus R to open the Run dialogue box.
2 – To open the Control Panel window, type “Control” and press Enter.
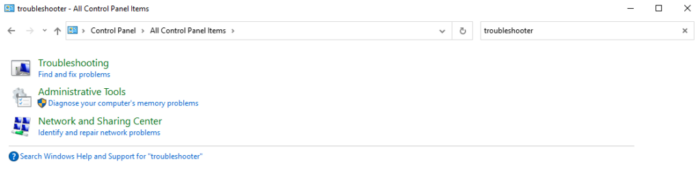
3 – Using the search bar at the top of the standard control panel menu, enter “troubleshooter” to locate the answers.
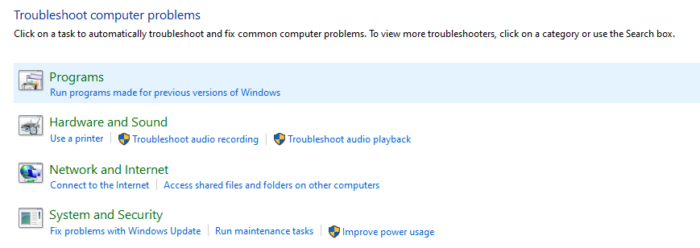
4 – Select System and Security under Troubleshooting, then click Run Maintenance Activities.
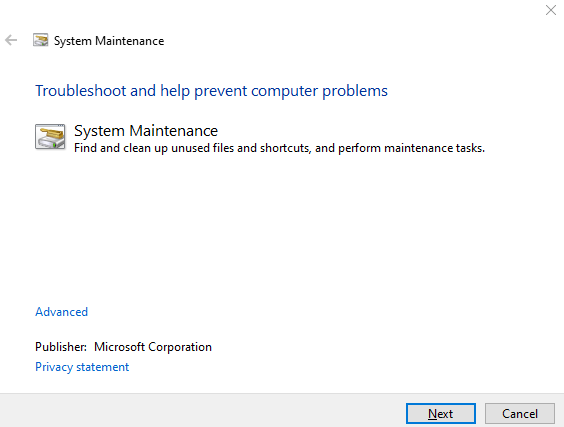
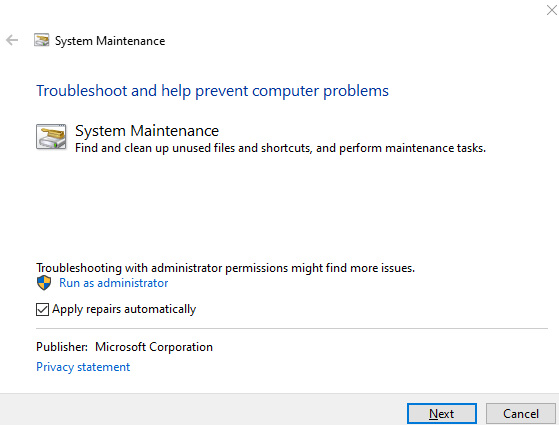
5 – From the initial screen of System Maintenance, select the Advanced link, then select the box next to Apply fixes automatically.
Note: If you notice the “Run as administrator” link, you may reopen the utility with administrator privileges by clicking it. As a consequence, your chances of successfully resolving the problem will rise.
6 – Click Next to begin the troubleshooter. Then, if required, click Try troubleshooting as an administrator, followed by waiting for the app to complete.

7 – If the troubleshooter identifies a problem and indicates that it has been fixed, restart your computer to determine if it has been fixed.
Install Windows Updates
The Microsoft has had plenty of time to fix this problem, dating back to Windows 10. For Windows 10 and Windows 11, their most recent endeavors involved the distribution of several hotfixes as cumulative updates. So first, install the necessary hotfixes on your Windows PC to fix this issue. Then, use the following procedures to upgrade Windows.
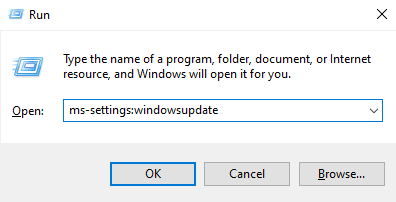
1 – The Run dialogue box will display when you hit the Windows key and R.
2 – To open the Windows Update tab of the Settings app, enter “ms-settings:windowsupdate” into the text box.
Note: You may be prompted for account confirmation if you still need to customize the UAC settings. To provide admin access to this instance, click Yes.
3 – Then, on the right side of the screen, select Check for Updates.
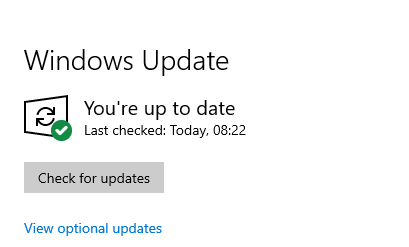
4 – Click on Install Now.
5 – After installing all updates, restart your computer.
6 – Continue reading for the next potential fix below if you’ve installed every scheduled Windows update and the issue persists.
Activate CHKDSK Scan

If you’re still using a conventional (HDD) drive, you should run a CHKDSK scan immediately. It is essential to determine if this behavior is caused by a failing disc sector beginning to fail. Running a Check Disk Scan will assist you in extending the life of your HDD, in this case, by replacing damaged sectors with healthy ones. Try initiating a CHKDSK scan from a command prompt with elevated privileges to rule out this scenario.
Use DISM And SFC Scans
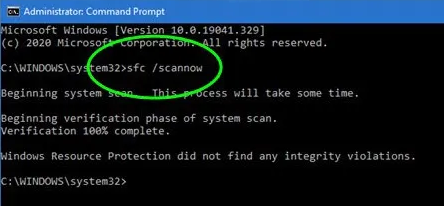
You may be dealing with system file corruption if you’ve reached this moment in your search for a fix without success. This results in a significant amount of CPUs used by the Shell Infrastructure Host process. Launching DISM (Deployment Image Servicing and Management) and SFC should be the next step (System File Checker). The two pre-installed apps treat the most common causes of system file corruption. Although SFC and DISM are equal, we recommend running them both sequentially to increase your chances of resolving the corruption issue.
Conclusion:
We would like to know how to fix the ‘Shell Infrastructure Host’ High CPU Usage issue on Windows 11. The above strategies offered by experts will undoubtedly aid in resolving your issue. Let us know if you’ve any questions or suggestions in the section below.